 |
| A preview: My crafty worktable-top. |


 |
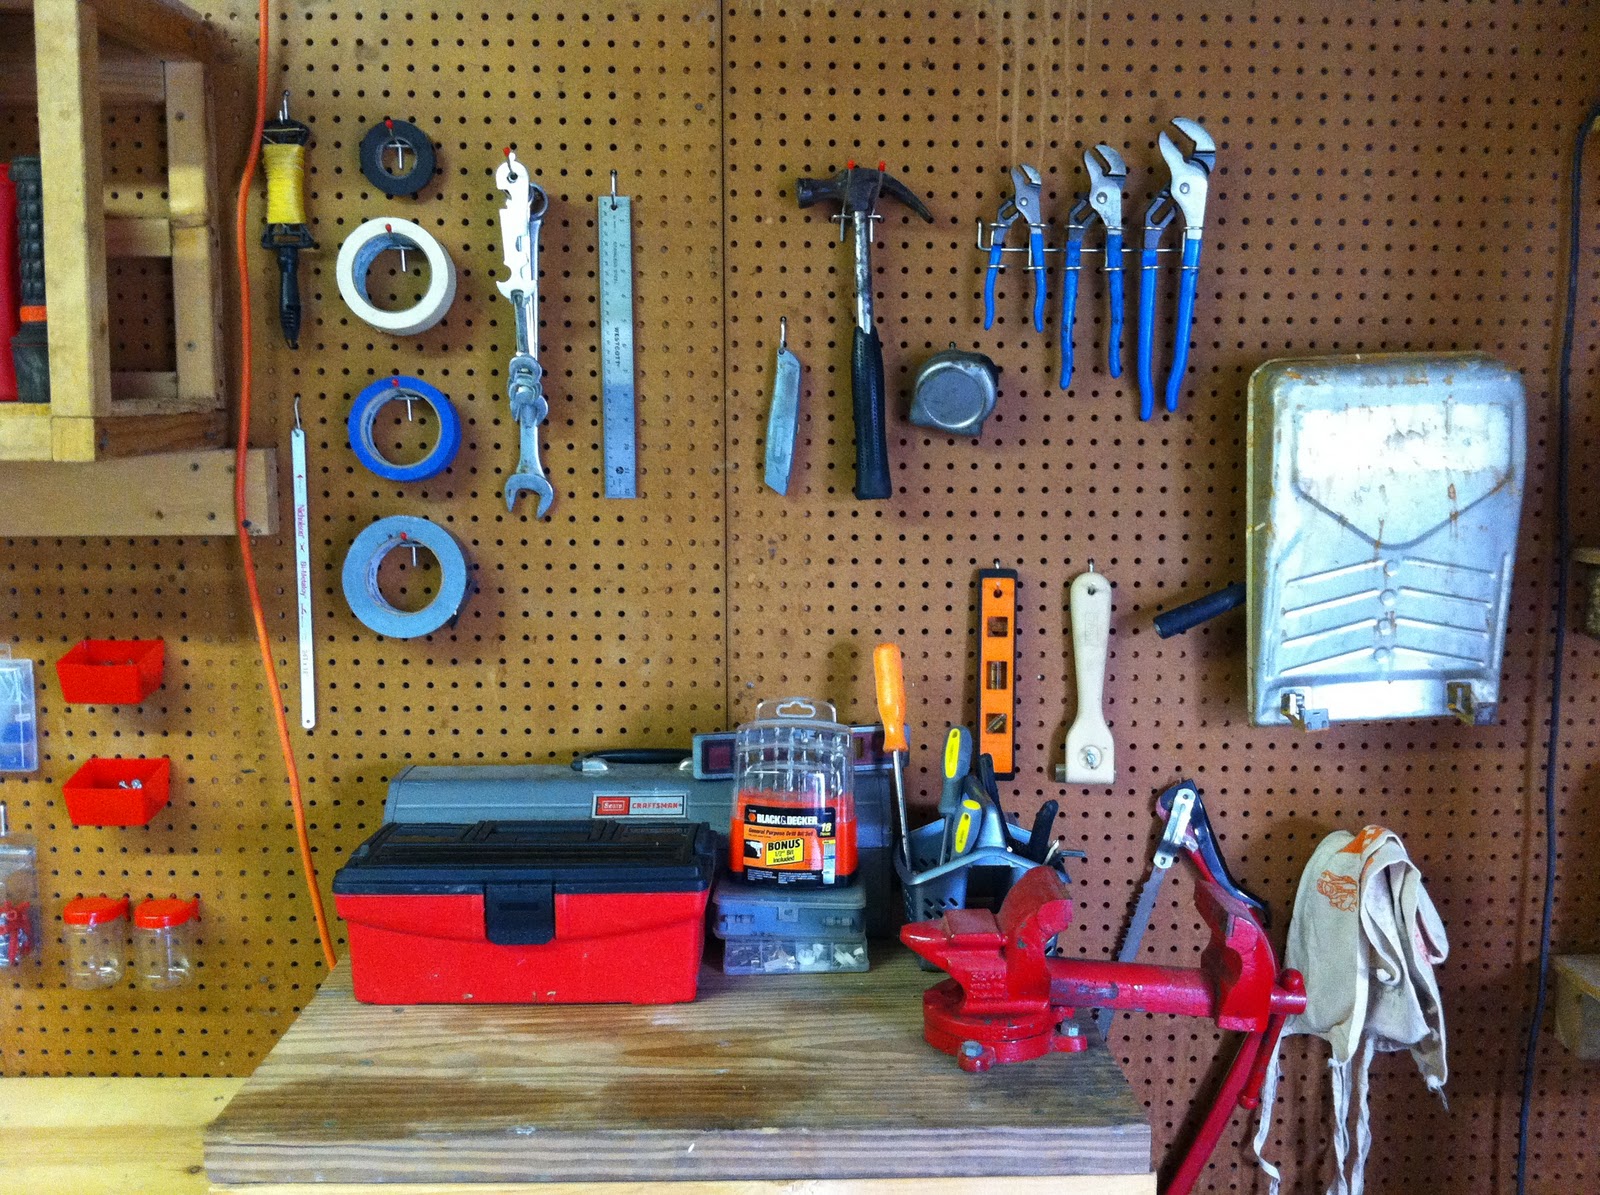
| I LOVE Pegboard. Everything gets stored vertically and lines up perfectly! |
Tons of pictures of the overhaul process HERE:


 |
| Main Work Area - Before |
 |
| Front corner of the garage. This is as close as I could get Before. |
 |
| Front of Garage Before |
 |
| Lots of junk |
 |
| Most of this is mine and Val's crap. |
 |
| Walkway through the garage - Before |
 |
| All of the lights |
 |
| We'll hold most of the things we don't want up in this part of the garage. |
 |
| Clean and clear and under control. |

 |
| Most of the stuff I decided we didn't 'need'. |
 |
| Stuff we might need |
 |
| Lawn equipment we will be selling |
Now some 90% FINISHED pics:


 |
| Chair Holders = Genius |

 |
| Mom's newly-tidy gardening cart. |
 |
| My lovely paint display. |
FINISHING TOUCHES:
 |
| I use the jars from an old spice rack. I cut some extra papers down to size with my new X-acto paper cutter and rolled them up into the jars. |
 |
| Kitchen storage bins - $1/3 at Walmart |
 |
| Plastic partywear, 4-packs of plates, bowls, and cups - $1 apiece at Walmart I'll use these to hold paint or for anything crafty. |


 |
| Cute red bucket - $5 at Walmart |
 |
| 12" Paper Cutter - $20 at Walmart |
 |
| Extra bath tiles covered with extra paper using Mod Podge make cute drink coasters. |

 |
| Extras from the spice rack and extra stickers from the scrapbooking pack |
 |
| Another sticker |
 |
| A fallen soldier in the Mod Podge. Oops. |
 |
| Said Mod Podge being used for my pièce de résistance. |
 |
| A patch-work-bench! |
 |
| From spare 3x2 pieces of paper originally used as flash cards for my students. |
 |
| I lined up all the pieces beforehand, and using spray adhesive, glued them to the wood. Where I learned that my beloved spray adhesive has its limits. I will use Mod Podge for that part in the future, even it's quite a bit messier. |
|
| I would cover EVERYTHING in pretty paper if I could. |
No comments:
Post a Comment